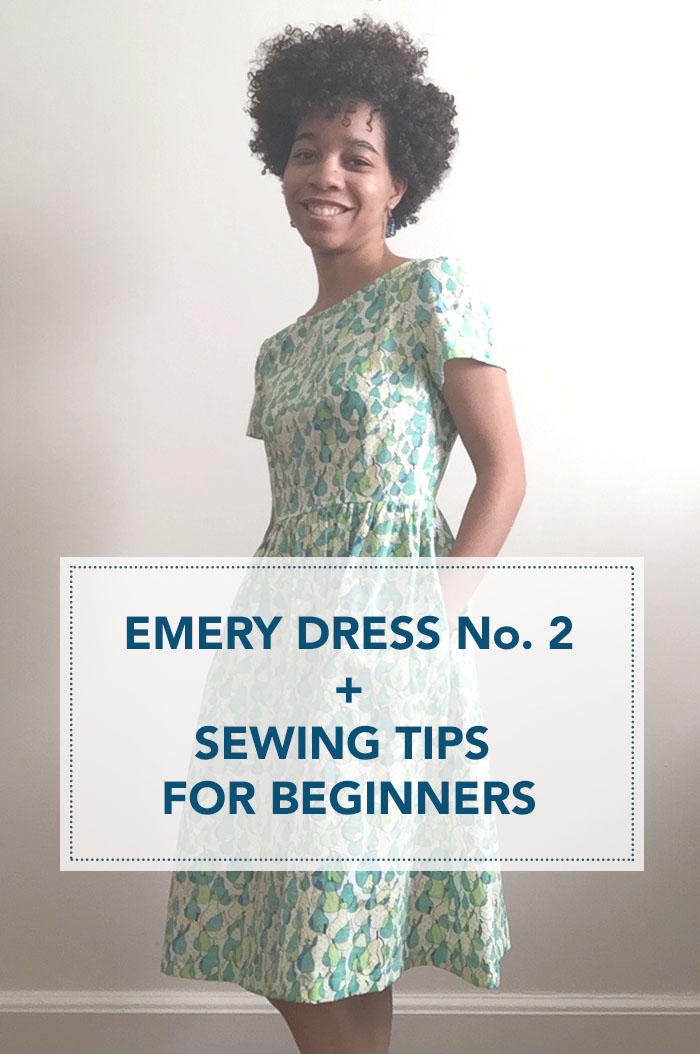
Aloha friends! Spring is in the air and it's officially time to bust this dress (and these pictures) out of the archives. This lovely is my second Emery dress and i must say... I love it just as much as my first Emery. The shilouette is classic and can be dressed up or down depending on the fabric used and the alterations (i.e. shorter skirt, no sleeves, flowy fabric). If you would like an in depth review of this sewing pattern then check out THIS POST.
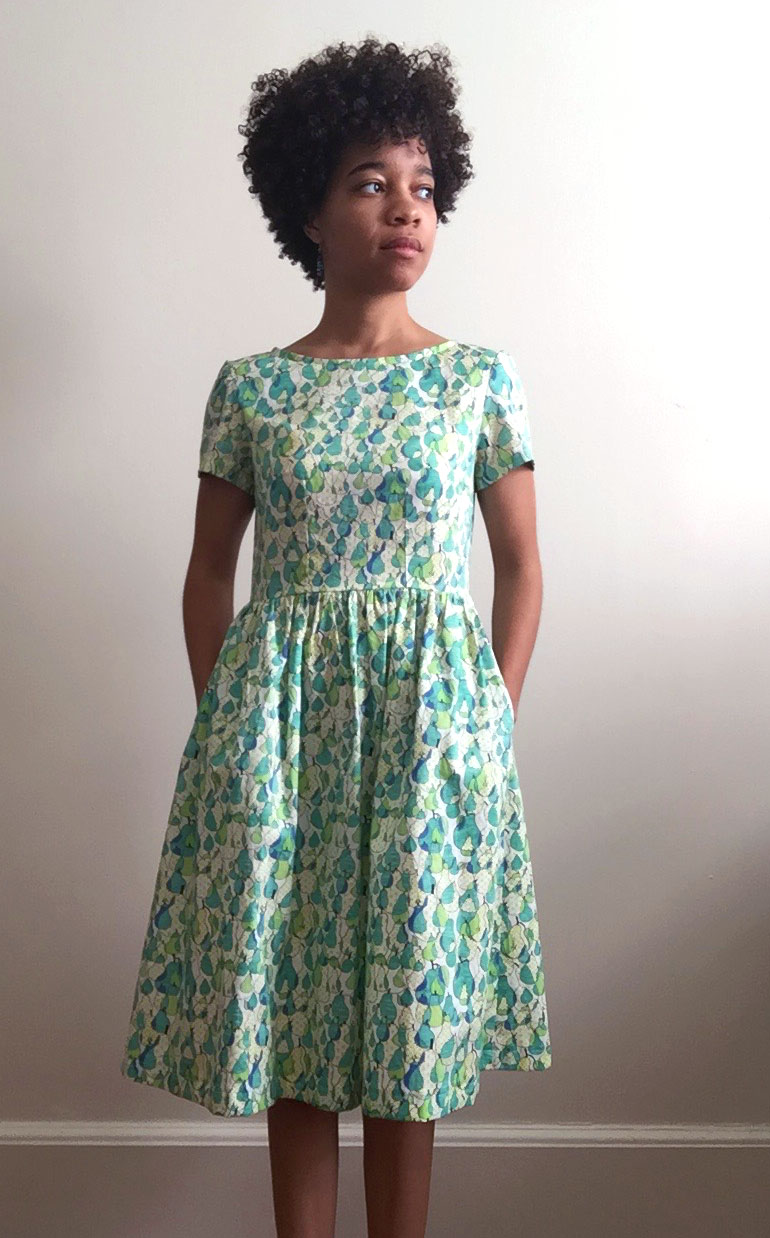
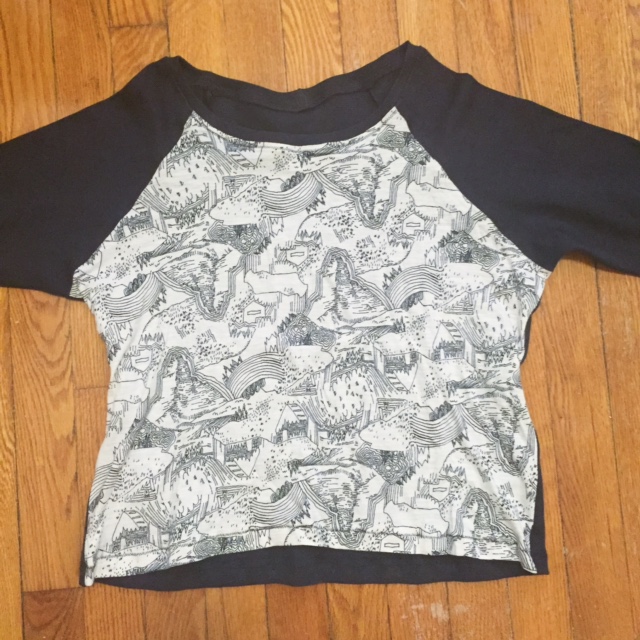
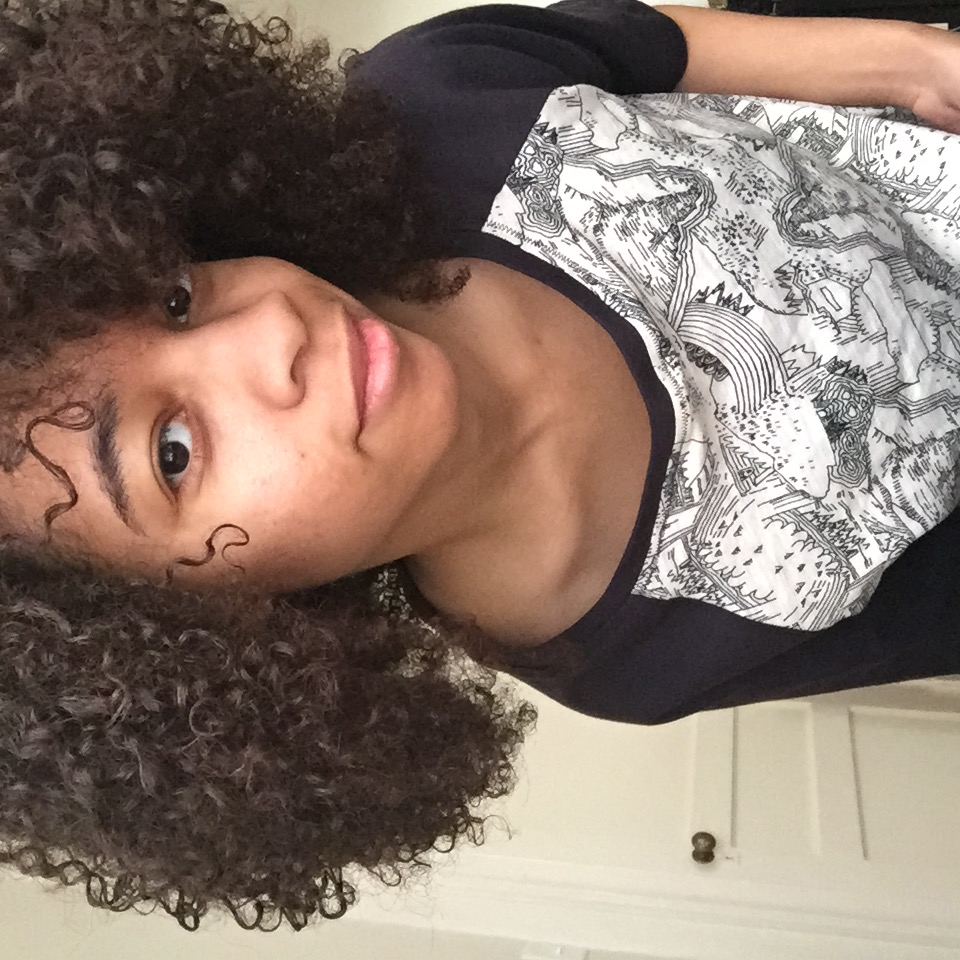
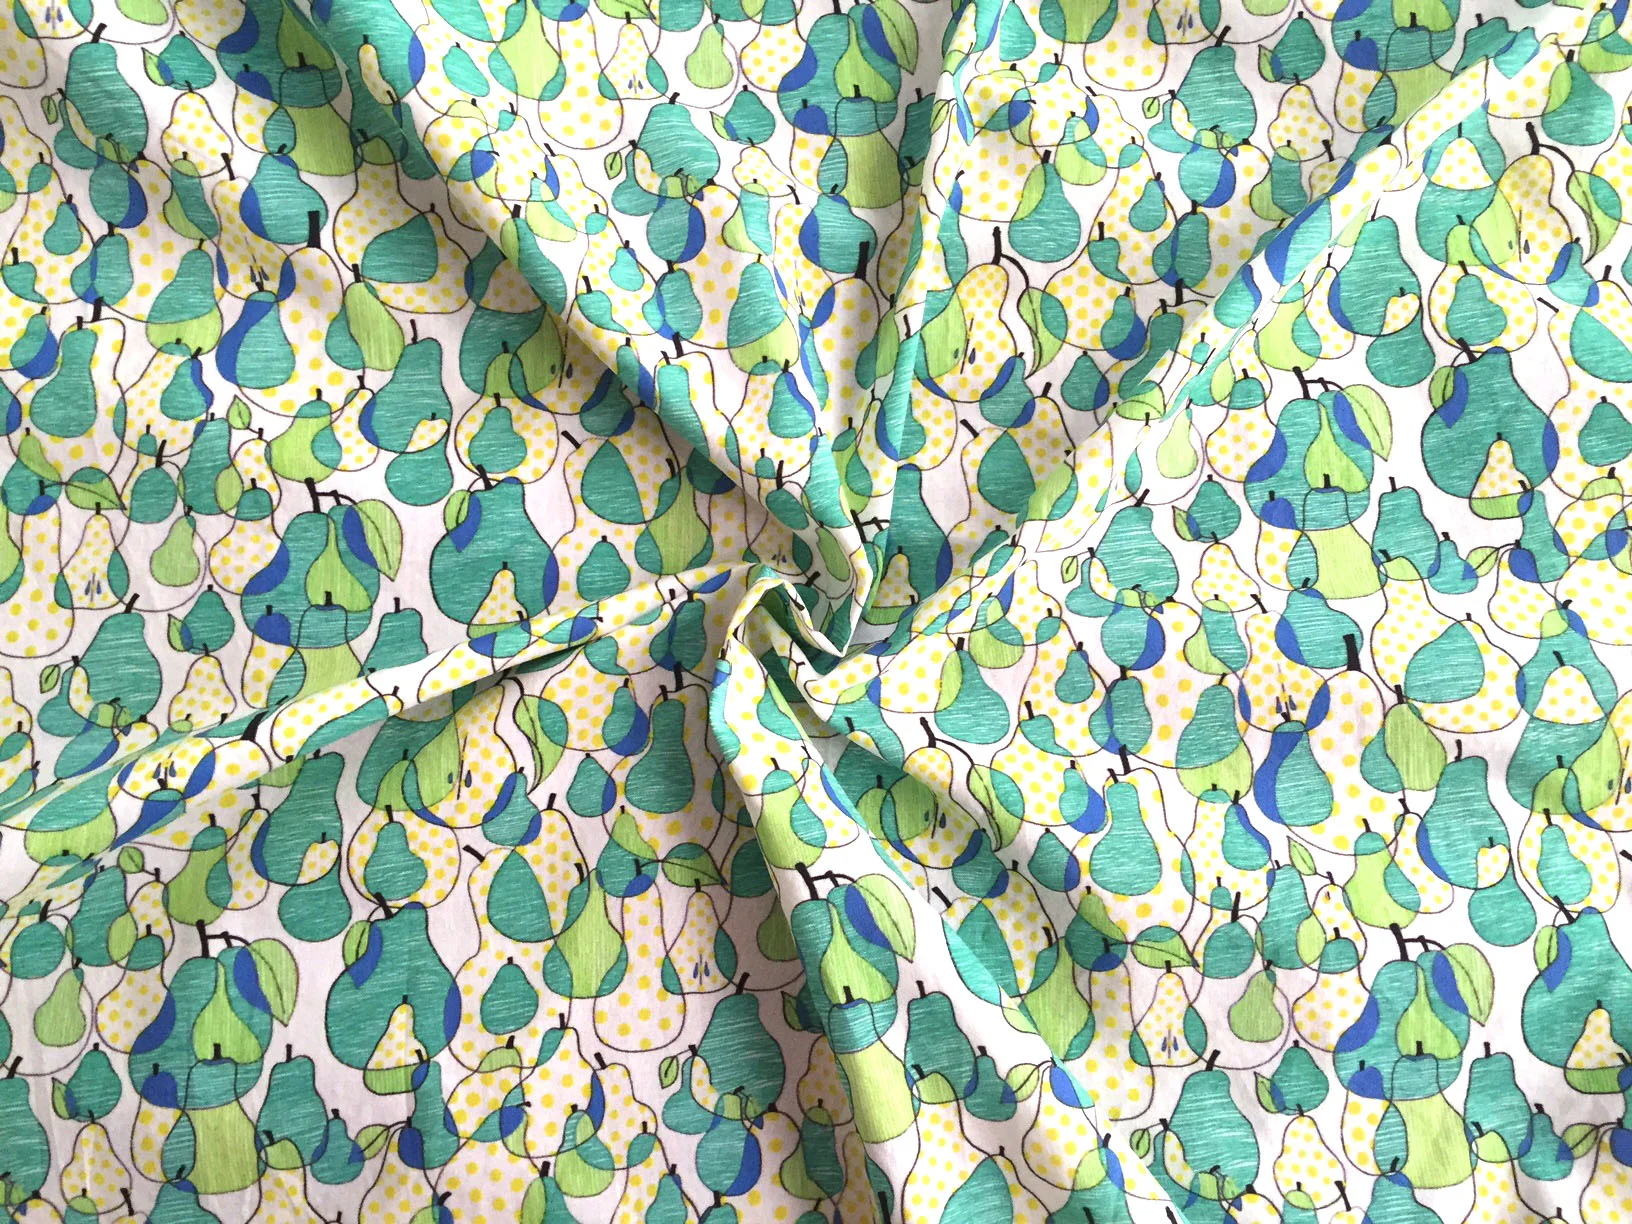
Garment: Emery Dress by Christine Haynes // Fabric: Pear by Call Me Chartreuse
There are so many benefits to sewing your own clothes (can we talk about the customization!!!!), but it can be hard to know where to start since there is a ton of information out there!
Because I love you all, here are 5 Sewing Tips for Beginners that have helped me the most in my sewing journey.
1. Oil your machine! I know, I know...sounds way too simple right? Trust me, wether you have a $50 machine or a $1,000 machine a clean machine makes all the difference. It'll run a whole lot quieter and smoother if it's free of lint and freshly oiled.
2. Get yourself a walking foot. A walking foot provides you with an extra set of grips on top of your work to help the fabric feed easier, which prevents the top fabric from shifting while you sew. It's especially great for matching stripes, slippery fabric, and stretchy fabric. This presser foot is by far my favorite sewing accessory and very rarely leaves my machine.

Bernina Walking Foot... insert heart eye emoji.
3. Use a pencil for tracing pattern pieces onto fabric. This tip I learned from Jen of Grainline Studios. Pencil is great because it shows up on a wide variety of fabrics, doesn't smudge like a chalk tracer, and doesn't disappear after ten minutes. Cut just inside the pencil lines when you are done tracing and you are good to go.
4. Start with a pattern that has a sew-a-long. When an indie designer releases a new pattern often times they will also host a sew-a-long on their blog with in depth pictures and instructions regarding that particular pattern. This is a great option if you find yourself staring at the original written instructions going "wait....WHAT?!" every 5 seconds.

5. Unsure about the fit of a pattern? Make a muslin!!!!! If you are unsure about how a garment is going to fit buy some cheap fabric and make a practice piece. For my first Emery I was pretty sure i'd have to shorten the bodice and was positive i'd have to do a small Bust Adjustment (SBA), so instead of cutting directly into my final fabric I cut out the bodice pieces in some cheap fabric and basted it together to see where i'd have to make those adjustments. which means you will be much happier with the fit of the final piece. If it's my first time sewing a pattern that has techniques I haven't done before or if I want to test the fit (but still be able to wear the piece if it comes out good) I make a wearable muslin from a low cost pretty fabric.
**Bonus** Head to Sprout Patterns for easy peasy customizable cut-and-sew projects. Sprout combines Indie sewing patterns with designs from the Spoonflower community. Just pick a sewing pattern (from pouches to baby clothes to adult garments) and chose the design. All you have to do is cut it out and sew it up! To pair a garment with one of my own designs search by designer when choosing a design and type in Call Me Chartreuse. I purchased a Lark tee in my Camera pattern, so i'll be sure to report back.
Pear fabric//Call Me Chartreuse
What sewing tips would you give to a beginner?? Let me know in the comments!